
Getting Started with Org Charts in Under 5 Minutes
Watch this short video tutorial to learn how to build an Org Chart in SmartDraw.
Detailed Directions: How to Build an Org Chart
The Basics
Select an Org Chart from the Org Charts category. For this example, we chose Org Chart (2-Level) as a starting point.

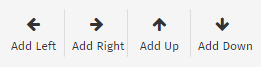
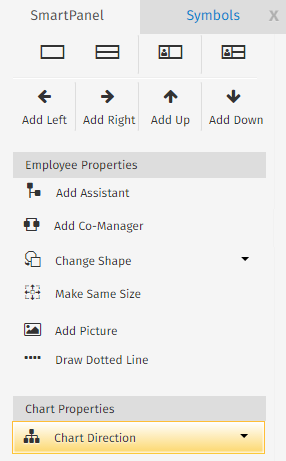
Add shapes to your chart by clicking on a shape in your Work Area, then selecting from the Add Left, Add Right, Add Up or Add Down arrows in the SmartPanel.
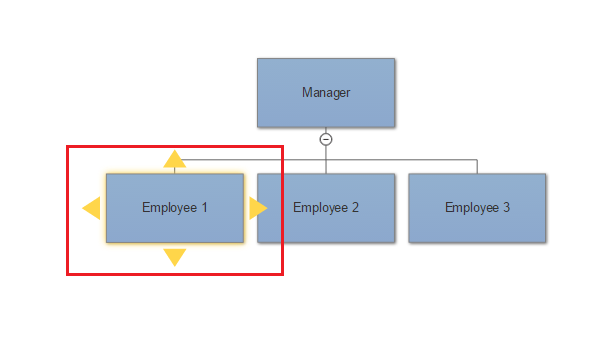
Alternately, you can add shapes by selecting the yellow action buttons at the side of each shape, which appear while hovering your cursor over the shape.
Add text to your shapes by clicking on the shape in your Work Area and typing with your keyboard.
Remove unwanted shapes from your diagram by clicking on the shape and selecting Delete from your keyboard.
Move shapes from one position to another by dragging and dropping or clicking and stamping the shape to a new location on your diagram. You will see an anchor appear when you approach the new location of your diagram- this indicates a connection to the new location.
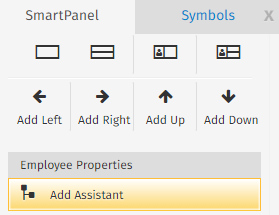
Add an assistant to a shape by clicking on the shape then choosing Add Assistant from the Employee Properties section of the SmartPanel.
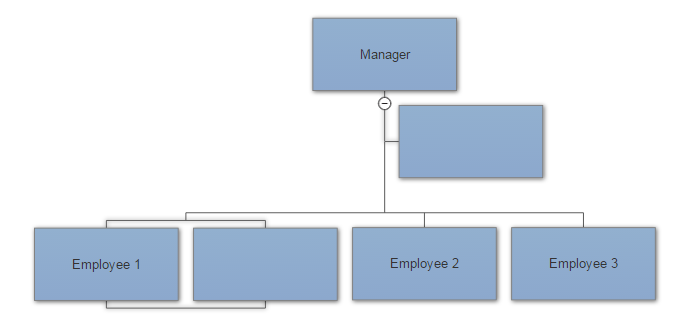
Let's say you wanted to add an assistant to the Manager in our example. Doing so using the above method will result in this look:

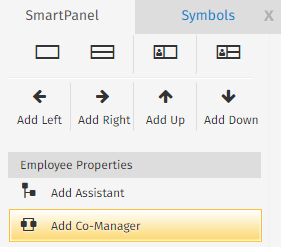
To add a co-manager relationship, click on a shape in your diagram, then choose Add Co-Manager from the Employee Properties section of the SmartPanel.
Adding a Co-Manager to Employee 1 in our example results in the following look:
Add a picture to an employee shape by selecting the shape in your diagram, then choosing Add Picture from the Employee Properties section of the SmartPanel.

If you would like to change the direction of your entire chart, select from the Chart Direction drop down menu in the Chart Properties section of the SmartPanel.
To change the style of a branch on your org chart, select the branch in your Work Area then select from the Branch Style drop down menu in the Chart Properties section of the SmartPanel.

If you need to show an unconventional relationship in your org chart, do so by clicking Draw Dotted Line in the Employee Properties section of the SmartPanel, then click and drag the line from the first shape to the second shape. See our example of this type of unconventional relationship, where the CEO also manages the Employee under two Co-Managers and this is shown using the dotted line.

Formatting
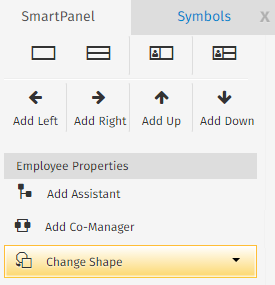
To change the shape of an existing shape in your diagram, click on the shape in your Work Area, then select an option from the Change Shape drop down menu in the Employee Properties section.
You can also change the style of your Org Chart shapes at anytime by selecting the shapes from your Work Area, then choosing one of the four styles seen in the SmartPanel.

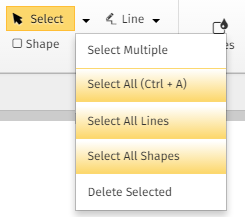
Select multiple shapes in your Work Area by using the Select drop down menu found on the Home tab.

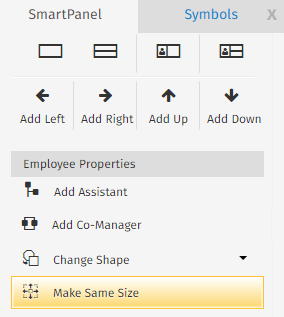
If you've been typing names and information into your Org Chart, chances are high that your shapes are no longer identical in size. To change this, and make your chart more visually pleasing, choose Make Same Size from the Employee Properties section of the SmartPanel. This will re size every shape to be the same as the largest-sized shape in your diagram.
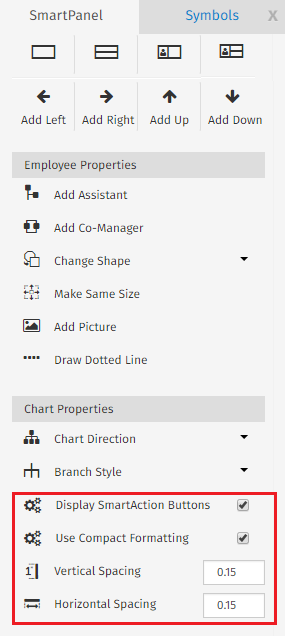
To format the spacing of your entire Org Chart, choose from the options in the Chart Properties section of the SmartPanel. Select from Display SmartAction Buttons, Use Compact Formatting, or increase or decrease your Vertical and Horizontal Spacing.
Add color and style to shapes by selecting from the options in the Styles section of the Home tab.
Format the text in shapes by selecting from the options in the Font and Paragraph sections of the Home tab.

Hyperlinking
If your organization is very large, you might consider hyperlinking several smaller Org Charts to a "Master" Org Chart using our Hyperlink tool.
To do this, first complete the building and formatting of your smaller Org Charts, and save them to the SmartDraw from the Save As option in the File tab.
Select a new Org Chart template to use for your "Master" chart. To keep things simple, consider using the 2-Level template and typing your department names into the second level, as shown in this example:

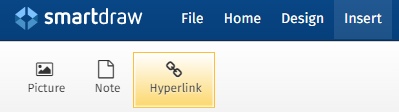
To add a hyperlink to a shape, select the shape in your Work Area, then choose Hyperlink from the Insert tab.
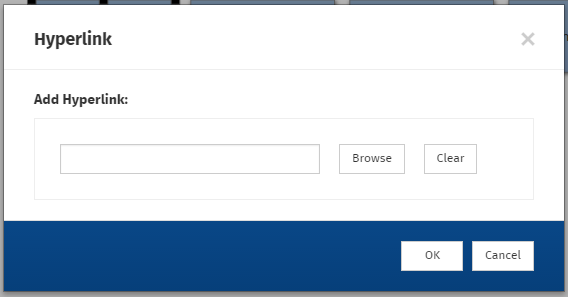
Browse for your file from the Hyperlink Dialog box.
Click on the downward facing arrow next to the Name Field in the Select a document dialog box to expand this menu.
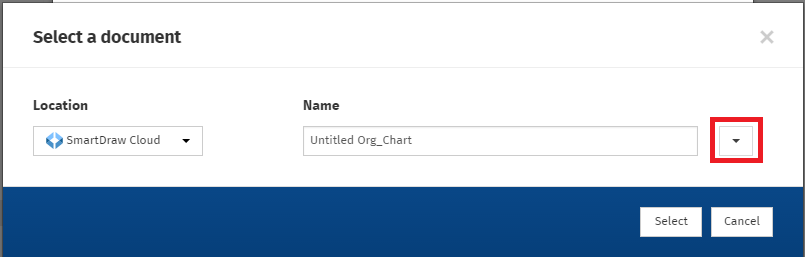
Choose the correct document to be attached to your "Master" Org Chart, then click Select.

Your Org Chart now has an active hyperlink on one of the shapes. In our example, the chart now looks like this:

Repeat the hyperlinking process until all smaller Org Charts are inserted into your "Master" Org Chart.
Comments
0 comments
Article is closed for comments.