Learn How to Create a Family Tree in Less Than 5 Minutes!
Watch this short video tutorial to learn how to create a Family Tree in SmartDraw.
Detailed Directions: How to Make a Family Tree
The Basics
Select a Family Tree template from the Science & Education category.
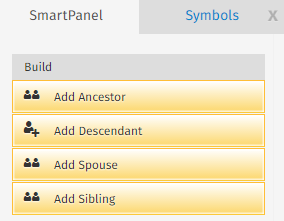
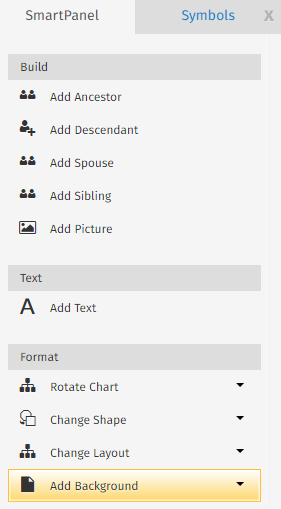
Add family members by selecting a shape within your Work Area, then choosing Add Ancestor, Add Descendant, Add Spouse, or Add Sibling from the Build section of the SmartPanel.
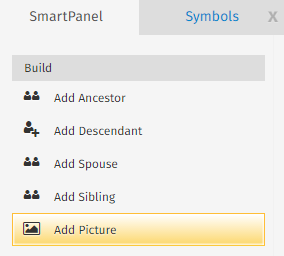
To add a picture of a family member, select a shape within your diagram, then click Add Picture from the Build section.
Rotate the entire chart by selecting from the Rotate Chart drop down menu in the Format section of the SmartPanel.
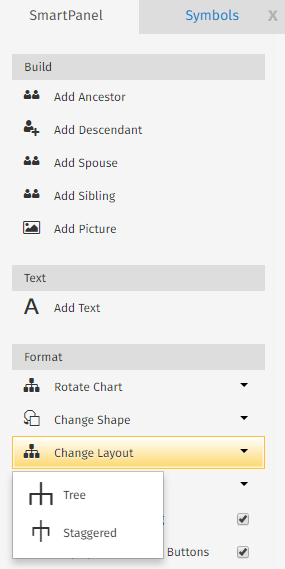
To change the layout of a branch in your chart, click on the branch in your Work Area then select from the Change Layout drop down menu.
Formatting
Add free-floating text to your visual by selecting Add Text from the Text section of the SmartPanel, then clicking into the Work Area to type. Save typed text by clicking elsewhere in your visual.
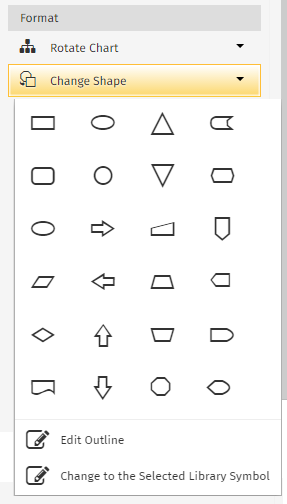
Change a shape in your chart by clicking on the shape in your Work Area, then selecting from the Change Shape drop down menu in the Format section of the SmartPanel.
Add a background to your chart by selecting from the Add Background drop down menu in the Format section.
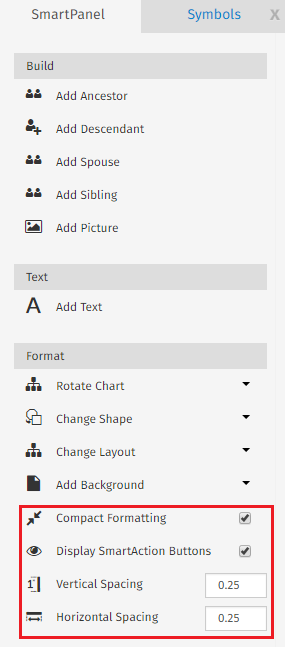
To change the spacing of your entire chart, choose from the options in the Format section of the SmartPanel. Select from Compact Formatting, D or increase or decrease your Vertical and Horizontal Spacing.


Comments
0 comments
Article is closed for comments.