Learn How to Create an Electrical Diagram in Less Than 5 Minutes!
Watch this short video tutorial to learn how to create an Electrical Diagram in SmartDraw.
Detailed Directions: How to Make an Electrical Diagram
The Basics
Select Electrical Diagram from the All Templates category.
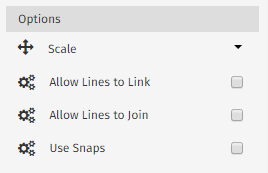
We recommend that you set the scale and line options for your visual prior to starting your diagram. To set your scale, select from the Scale drop down menu in the Options section of the SmartPanel. Next, select or deselect Allow Lines to Link, Allow Lines to Join, and Use Snaps from the Options section.
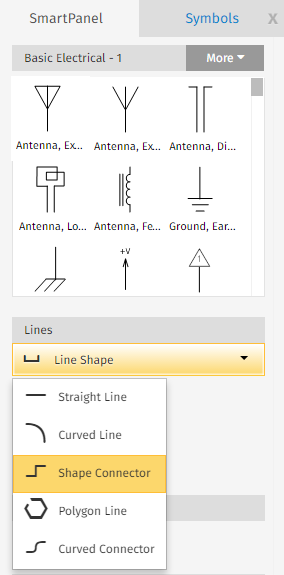
To start drawing your lines, select from the Line Shape drop down menu in the Lines section of the SmartPanel.
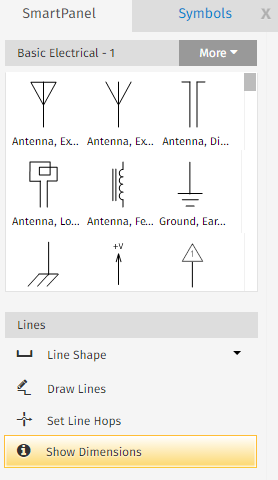
After choosing your desired line shape, click Draw Lines from the Lines section of the SmartPanel, then click and drag with your cursor in the Work Area.
When drawing perpendicular lines in your diagram, you will notice a "hop" at the intersection of the two lines. The line which contains the "hop" was drawn atop of the other line. To define properties of the line hops, click Set Line Hops from the Lines section of the SmartPanel. Select from the options in the Define Line Hops dialog box.
Show or hide dimensions in your diagram by clicking Show Dimensions from the Lines section of the SmartPanel.
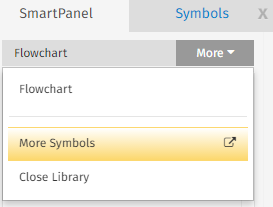
Add symbols to your diagram by dragging and dropping(or clicking and stamping) from the current library in the SmartPanel or Symbols tabs. To find additional symbols, choose More Symbols from the More drop down menu, then browse or search by keyword to find your desired symbol.
Add free floating text to your visual by clicking Add Text from the Text section of the SmartPanel- this engages the Text tool. Click into your Work Area to type, then click elsewhere when finished to save typed text.



Comments
0 comments
Article is closed for comments.