Getting Started with Genograms in Under 5 Minutes
Watch this short video tutorial to learn how to create a Genogram in SmartDraw.
Select Genogram from the All Templates category.
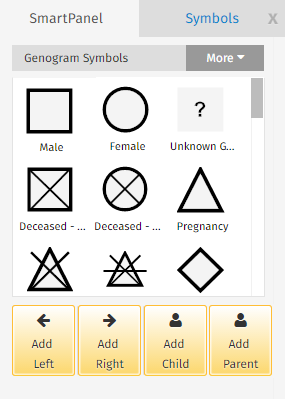
To add children and parents to the default Genogram, select the appropriate shape in your Work Area, then choose Add Child or Add Parent from the SmartPanel.
Alternately, you can add children and parents by clicking Add Left or Add Right.
Add a symbol to your visual by dragging and dropping (or clicking and stamping) it onto the diagram. Look for a white anchor to appear as you are dropping the symbol- this indicates that it has connected.
Add text by clicking Add Text in the Text section of the SmartPanel, then clicking into your Work Area to type. Click elsewhere to save typed text.
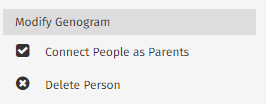
To connect people as parents in your Genogram, click Connect People as Parents from the Modify Genogram section of the SmartPanel- this engages the Shape Connector line tool. Now, click on the perimeter of one parent, and drag your cursor to the perimeter of the second parent. Look for white anchor symbols to appear as you click onto the perimeters- this indicates a connection has been made.
If you need to delete a person from your diagram, select the person's shape in your Work Area, then click Delete Person from the Modify Genogram section.


Comments
0 comments
Article is closed for comments.